After selecting the qualify button, users will be taken to a new screen that will provide the same information with the Overview, Additional Information, Performance, Attachments, History (once users begin with actions, they will see all steps that have been performed recorded under history), and Collab tabs.
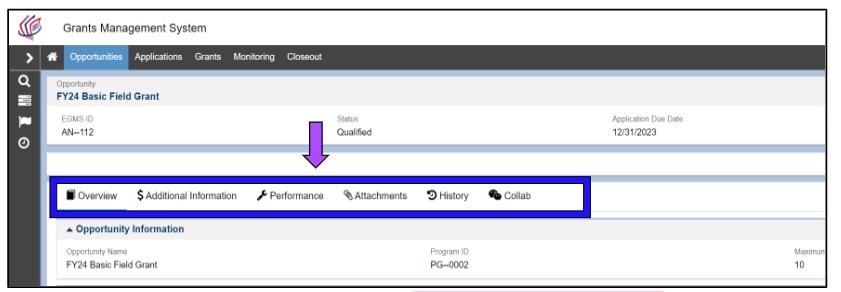
Figure 14: Image of Tabs Listed After Selecting the Qualify Button
On this screen, users must select the Create Pre-Application button to begin their Pre-Application.
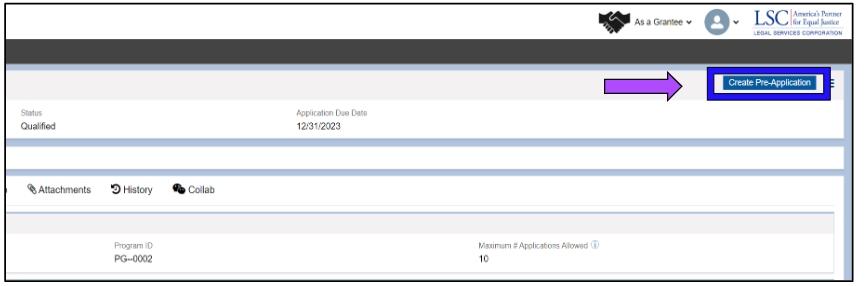
Figure 15: Image of Create Pre-Application Button
PLEASE NOTE: Before beginning the Pre-Application, including associating service areas and uploading resumes, users should note that if for some reason they need to step away from the Pre-Application or the computer shuts down, they will need to begin from the locate the opportunity stage. For this reason, PLEASE try to complete the Pre-Application in one sitting.
Upon selecting to create the Pre-Application, users will be prompted to state where they learned about the grant opportunity.
Once they complete this step, users should select the Save button at the top or bottom of the screen.
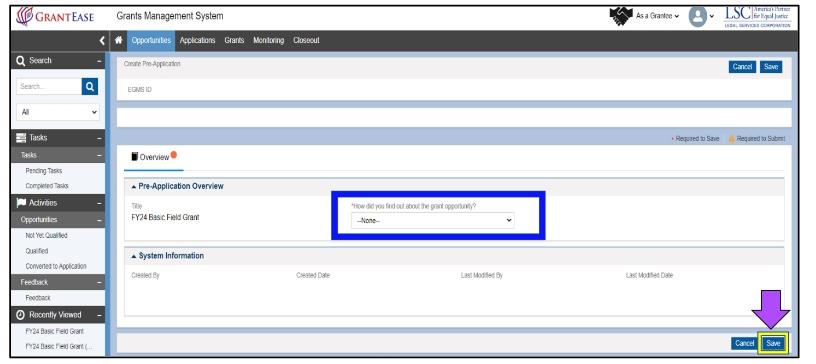
Figure 16: Image of Pre-Application Overview Screen
After selecting the save button, users will see a checkmark on the status bar near the top of the screen labeled created, which means a Pre-Application has been initiated.
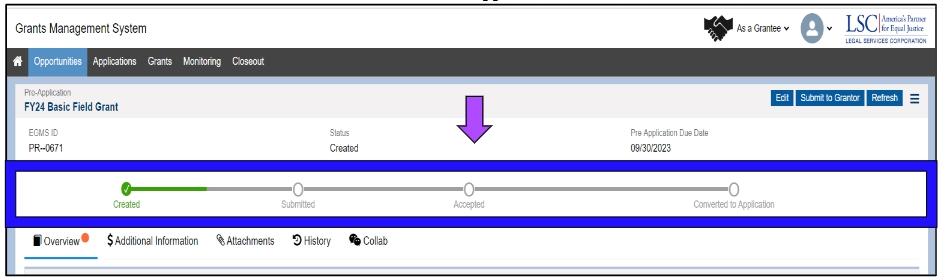
Figure 17: Image of Status Bar with Created Status